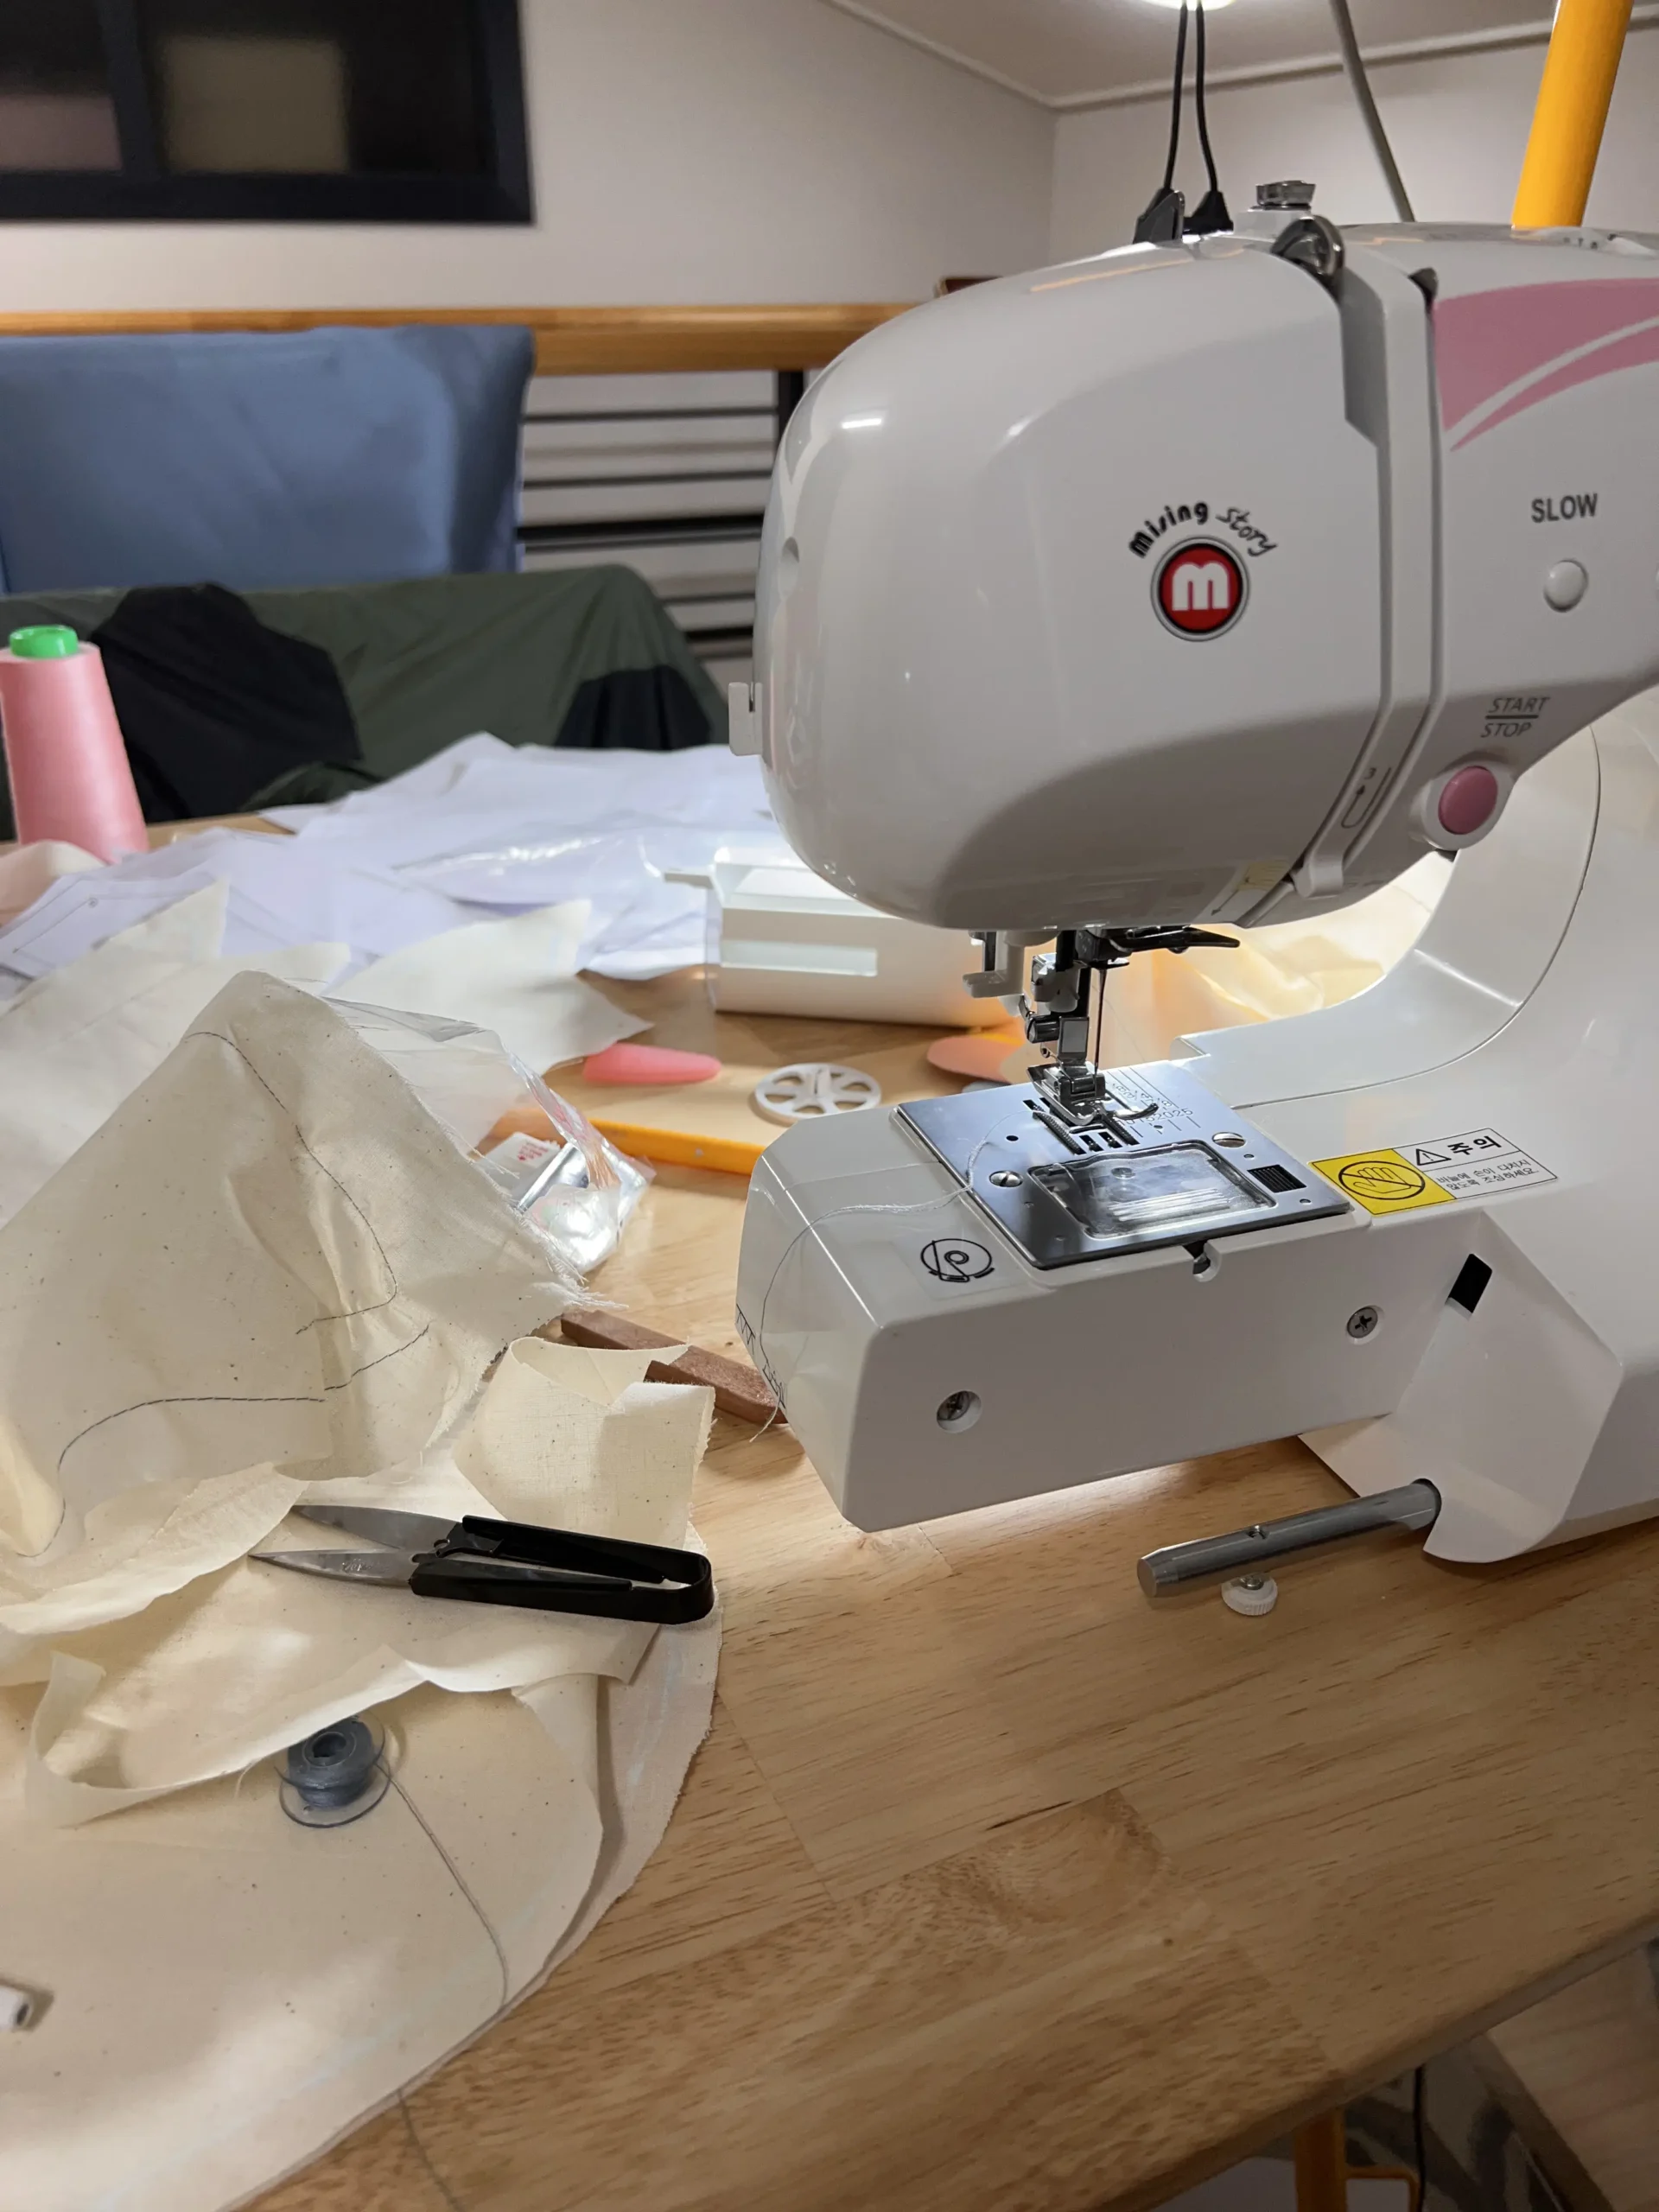
After buying all stuff, we’re ready to make a sample dress.
First content here: Read
Finding Patterns
Honestly, even if you graduated from a fashion design program, it’s not easy to make clothes from scratch.
The tricky part is making the patterns.
That’s why it’s more reasonable, both time- and cost-wise, to purchase ready-made clothing patterns.
Here, I’m sharing some sites I searched for downloading dress patterns (these are specifically good for mother-of-the-bride dresses):
- Moodfabrics Moodfabrics offers a wide variety of trendy patterns.
- Simplicity You can find some patterns from vintage style to trendy one
- Peppermint Magazine (Free) Peppermint has lots of free patterns, though they’re often quite elaborate. Still, you can find some great options if you focus on the clothes.
When browsing pattern sites, you’ll notice some patterns are labeled as “PDF patterns” and others as “physical patterns.” What’s the difference between these two?
PDF Patterns vs. Physical Patterns
- PDF Patterns: The advantage is that you can print and start right away. The downside is it takes quite some time to print and assemble the physical pattern.
- Physical Patterns: The benefit is that the paper pattern is ready to use, but you’ll need to wait for shipping and pay extra for delivery.
You need to carefully weigh these options and choose what fits your situation.


Making a Sample Using PDF Pattern
1. Cutting Fabric
Finally, I started cutting the fabric according to the pattern. This is the stage where it starts to feel like I’m actually making clothes! 😊
After marking the seam allowances with chalk, I’m ready to start sewing.

2. Attaching Interfacing
Technically, interfacing isn’t essential for the sample, but since it’s been a while since I’ve made clothes, I decided to practice by adding it to the sample.
I ironed on interfacing to the collar and facings to make sure everything stays crisp.

3. Sewing Mother’s Dress for Wedding
Using the sewing machine again after a long time… it’s actually quite fun! If the stitching doesn’t turn out neat, it can be frustrating, but when it does, it’s so satisfying.

* Princess Seams
This was tricky part 1! Princess seams are challenging to sew because they shape the fabric to the body’s curves, which makes sewing them flat difficult.
Eventually, I finished the bodice. It took quite some time because I’m rusty.


4. Setting the Sleeves
This was tricky part 2! Sleeves need to fit the armhole perfectly, and it’s easy to accidentally catch some fabric in the stitching 🥲.
I had to rip out the stitches and redo them multiple times.

Completing Two Versions for Fitting
After much effort, I finished two sample versions! Since my mom and mother-in-law have different sizes, I made two versions with different sleeve lengths.

Fitting Mother’s Dress for Wedding
Uh-oh… Both of them feel a bit tight in the bust. I think adding about 1/2″ to the bodice width should solve the issue.
I’ll adjust this when making the dress with the actual fabric.
Finally, the sample-making is complete! There were lots of modifications, and the steps were all over the place, but I’m ready to organize everything and start the final fitting.

